Baby, it's hot outside - or - ready to heat up the log cabin sauna
Ta-dah! The log cabin sauna is up and running. It's been a five-year journey (mainly in my head) until this point. A couple of bits are still to sort, as usual, but we have been successfully firing up the sauna.
As I know first-hand that buying a sauna can be daunting, I've included links to suppliers on our 'Makes, materials and suppliers' page.
The outside
The cabin is located at the very back of our steep garden, as you can see...

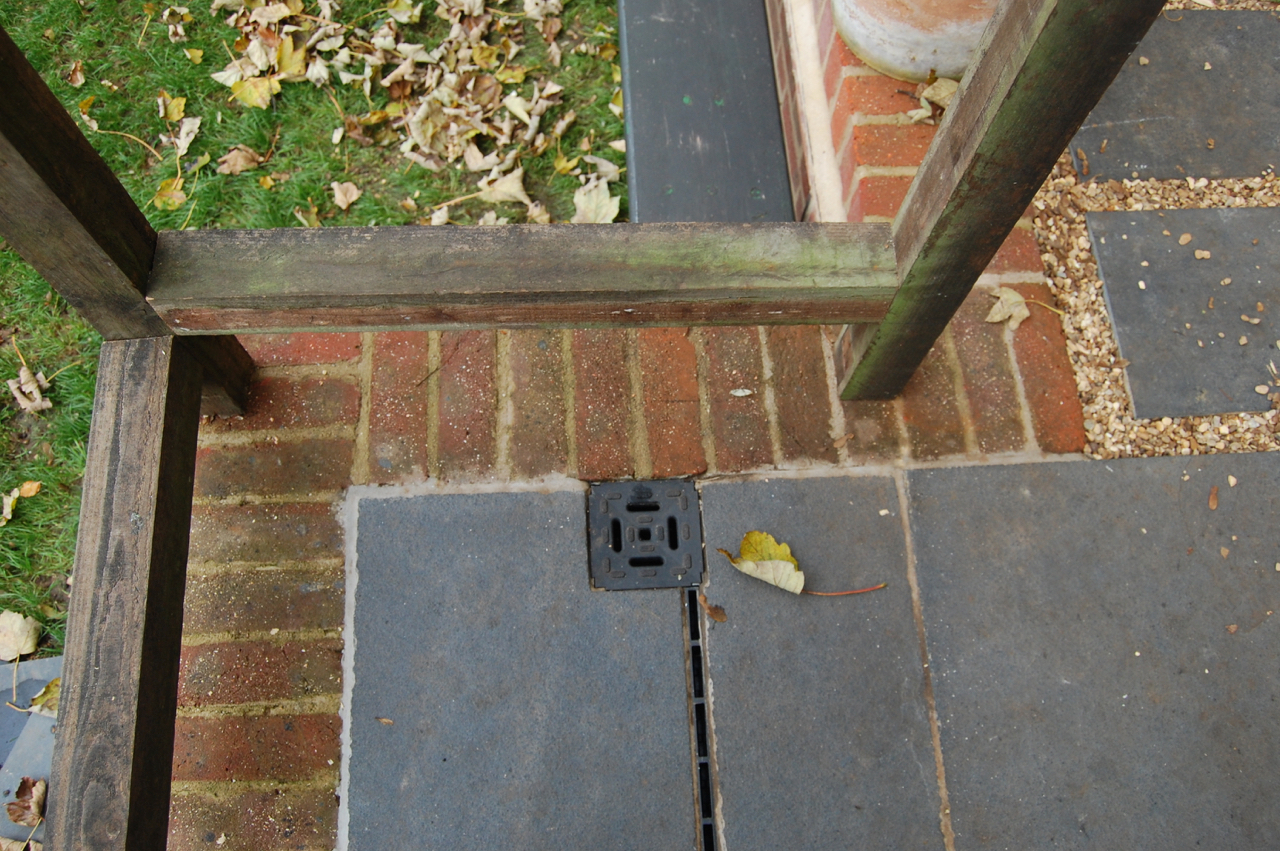
We had to remove the pergola, rebuild the wall at the back and extend the terrace forward. It was also an ideal opportunity to get rid of the ugly and impermeable concrete path and concrete raft under the decking. This is how it used to look...
 |
| The back garden before works started. |
 |
| The finished wall (lime mortar, of course), with the finished cabin. |
 |
| Log thickness = 45mm |

 |
| Now, let's unlock the cabin, shall we? |

First, there's the changing room. It's about 117cm wide and 245cm from front to back. It's small but perfectly formed. I'm really pleased - it took me ages to settle on the dimensions.
We had to balance access around the cabin with the need for space inside it. We were almost talked out of a changing room, but trust me, you want one for a garden sauna. For starters, you need somewhere to take your bathrobe off without neighbours being blinded by the sight of your birthday suit. Then you also want somewhere to sit in shelter, if it rains, or you just feel like it.
The lovely people from Keops Interlock Cabins, who supplied and built the whole cabin, made the bench at the back of the changing room. In the price. Out of the goodness of their hearts.
There's a small window at the back for light and ventilation. We had that upgraded to double glazing, although that wasn't necessary, as the insulation value of the double glazing is only slightly better than that of the timber walls. The timber walls, remember, are 4.5cm thick.

Two little IKEA robe hooks that we had left over from our old bathroom...

Now we just need proper robes.

The white, copper and wood changing room light on the ceiling is from Haysoms. The cotton cable light is from, you guessed it, Cable & Cotton.
Cabin interior
The sauna room is much more modern than I'd dared to hope for. It's alder wood and is made in Estonia by Ha Serv.
The benches are a generous 60cm wide. There is an L-shaped upper bench with a corner piece and a straight lower bench. Between the upper and lower straight benches, there's a bench skirt (our sauna benches wear what they want - no discrimination here - Ed.).


I'm going to give you another stat and then tell you why. The upper bench is 100cm below the ceiling. That gives tall people enough head height and ensures the top bench temperature is easier to reach. Temperatures in the sauna differ greatly between the top bench and floor level. Last time I measured, we had 80 degrees Celsius on the top bench, 65 on the lower bench and 40 degrees at floor level.

Some leftover bench pieces came in handy for me to construct a step, to help reach the first bench safely.
The heart of the sauna - the stove
The sauna came with a Swedish Tylo Curve sauna stove. The model is 'Curve', which is their entry-level version. It's single-phase and 8kw. Apparently, it's quite energy efficient. Well, I'm hoping to make the sauna more environmentally friendly by inviting friends to join us. It'll be like a car share, just hotter and sweatier (depends on the car share - Ed.).

takes 20kg of stones. Again, these were part of the pack.


The controls are mounted at the bottom of the stove body. There's a timer (basically like a mechanical egg timer) that lets you delay the start time of the heater by up to nine hours. Then it can run for up to three hours.
Accessories
These are the accessories the sauna came with. I hadn't really expected all this as part of the package, so was pleasantly surprised.
Exhibit 1: the LED sauna light.

An hourglass, so you know when you're 'done'.

Grilles for the out-vent.

A combined hygrometer/thermometer. This one is actually from Germany. Natch.

Ergonomic headrests. Very comfortable.

Sauna bucket and ladle.


Let's go back outside.

Outside, we've got just under a metre width of a walkway in front. I still need to work out how to mount some kind of railing to the wall. Any advice much appreciated.

This is my self-built shower stall. The screens are made from leftover sheets of EPDM rubber from the roof, rolled up and tied in place with... thin strips of EPDM rubber.


The electrics
Of course, you need electricity to run an electric sauna. That had to be brought all the way from the front room of the house. We ran a 16mm armoured cable from end to end. Here's where it enters through the outside wall into the cabin changing room. When attaching anything to log cabins, you shouldn't fix it across more than one log, as logs expand and contract during the year. In this case, we've left the fixing for the trunking loose enough for the pipe to move.
We also took the opportunity to fit an external socket to the outside of the cabin. No more running cables from the house to mow the lawn, use a chainsaw, etc.

This was a nice, plain option. And it says 'click', which looks like a play on 'click here', which in turn is a pet hate of web content people. You know who you are.


These are IP44 rated GU10 spotlights mounted behind the fascia. They're these from Haysom interiors in Dorset. You don't see them from the front of the cabin, but they light up the path well.

I went with surface-mounted metal clad switches and sockets from ML Knightsbridge.


The consumer unit had to be metal clad. It's a four-way CU from Cudis. It's fancy - it has battery- powered LEDs that light up when you open it. Voila!

Note my timber trunking. Don't bother with wall-mounted trunking, as the cabin will move and bend it. This trunking is fixed in one place and then held in place with magnets. I hope this will do the trick over time. You can see one bit is still open. I'll get around to that eventually.


